
I have been obsessing over Macramé for quite a few months now, after buying my first piece of fibre art from a cute little shop in Cheltenham. I have been building a Macramé board on Pinterest and watching a number of tutorials on YouTube, now it is time to give it a go and make my own!

What is Macramé
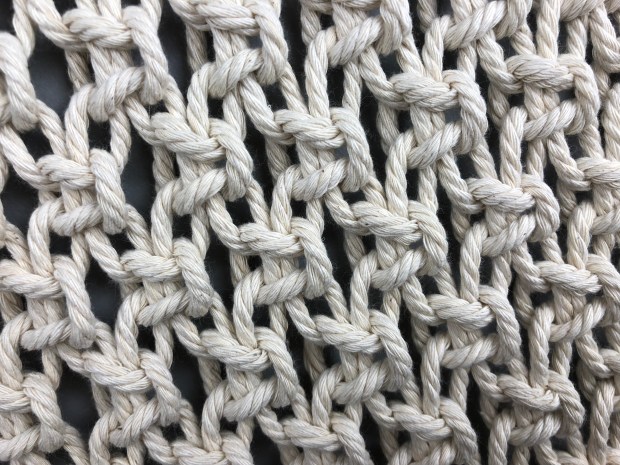
Macramé is a form of fibre art using knots to create a whole number of fancy designs. The base knot of macramé is the easy to learn square knot. Wikipedia said the art originated from sailors, creating elaborate or ornamental knotting forms, to decorate anything from knife handles to bottles to parts of ships. Now it is back in fashion and known as modern Macramé , I have seen all sorts of art from plant pot holders to shelves and swing seats.
What rope to use for Macramé
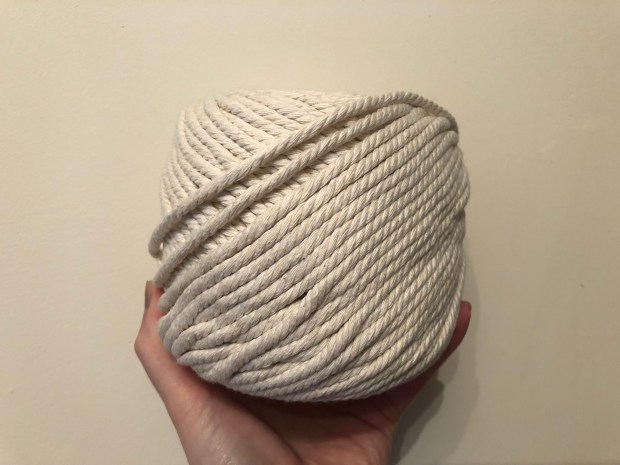
After watching the charming Chelsea Sadler and her Macramé tutorials for beginners I felt confident enough to have a go myself. I researched into rope for a number of days and some can be really expensive. I wanted a good quality rope, just incase I actually liked what I made, but didn’t want to pay a lot incase I didn’t actually like doing it. I bought this cotton rope from eBay, you need quite a lot of rope for a long hanging so I went for 65 metres of the 5mm rope, it was actually really nice quality and I have ordered the 4mm for my next project. You can use any diameter rope you like but I think 4 or 5mm is easy to work with and looks nice when finished. I think it is important to use cotton rope as it will look the nicest when hanging on your wall, I chose ecru (off white) but there are loads of different colours to choose from.

I was a little unsure about starting as it looks so complicated, so delayed making it for a while, I also knew I would probably need a good chunk of time to get it completed, but this bank holiday I bit the bullet and decided to start with the easiest knot, the square knot.
What you will Need
A dowel rod or garden cane
Cotton rope
Scissors
How to do a Macramé square knot


I watched a few videos on how to create a square knot and then attempted my first one, it didn’t look right, so I had to re-watch a few times. The above photos show you how to create the square knot. The main thing I didn’t grasp was not to pull all the four ropes to tighten the knot, just pull the outer two at step 3 and you will create a lovely straight square knot. Once you have the square knot mastered, you are on your way to create your first Macramé wall hanging.
How to make a Macramé wall hanging
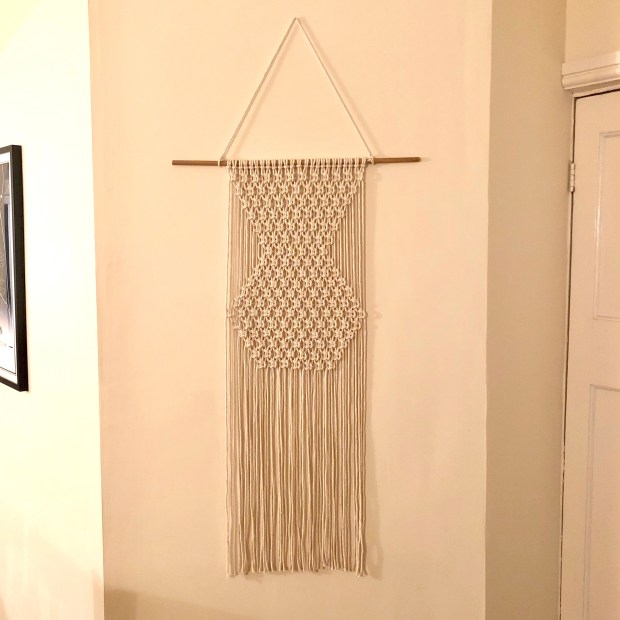
Firstly you will need some where to make your Macramé wall hanging, I suggest removing a picture from your wall and doing it there as it is much easier to make your wall hanging if it is right in front of you and you can step back to check the design. Please ignore how yellow some of these pictures look, the lighting was not the best!

Use a length of rope to tie onto your doweling, I thought I had some but it turned out I didn’t so I popped down the garden and picked up some garden cane, it worked perfectly fine. Keep your doweling a little longer than you plan to have your wall hanging, it’s easier to cut down after than realise you have cut it down too small.
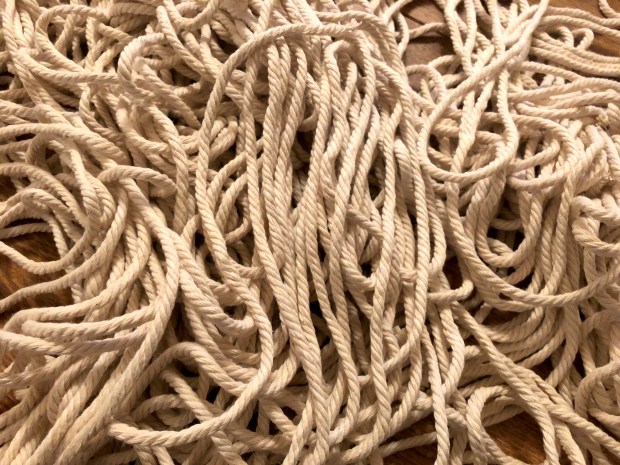
You will need to cut your lengths of rope, I cut mine double the length of my dowel rod and the floor as you will need to double them up to cast on to your wood. I cut 24 lengths of rope. You can have how many you like depending on the size of your macrame hanging but you should always have multiples of 4 as you need 4 ropes per square knot.

Use a lark knot to cast on to your wood, double over the rope and hold the loop to the front of the wood, fold it over the top, then thread the long length of rope through the rope loop to latch on. Space out your ropes so they are all even across the top.

Starting from the right hand side, I did a row of square knots the full length of the hanging, keep an eye that your knots are the same and that they are all straight.

For the next row you need to offset the squares so they all knit together, to do this miss off the first two ropes and borrow 2 ropes from the next group, continue your row of square knots working right to left, you will have two spare ropes at the end.
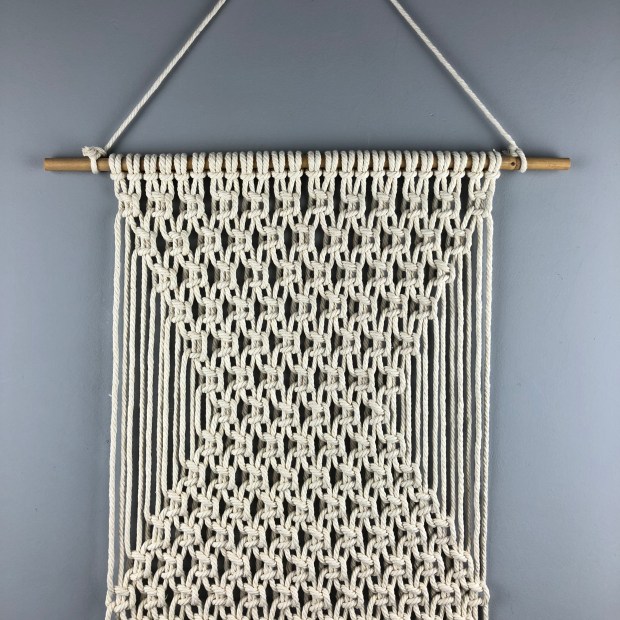
Repeat seven rows down, each time leaving off another 2 ropes, you will see the design starts to go diagonal inwards. On the eighth row start adding two more ropes in each time so the diagonal moves out again. Work down 6 more rows and you will be using all the ropes again.
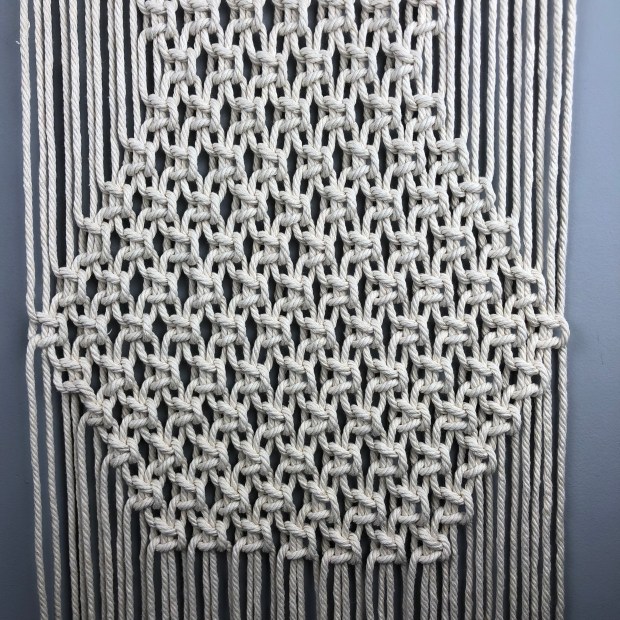
Start working inwards again dropping the 2 ropes each time, continue down another 5 rows. The body of your first Macramé wall hanging is now done and I am betting your arms will be aching just a little. All that is left to do is trim the ends of the hanging to your desired length, make sure your scissors are sharp so the ends don’t fray too much.
From start to finish my first Macramé wall hanging project took roughly 3 and a half hours. You don’t have to do it all in one go and can do it over several days, although it is quite addictive creating all those squares.

I hope this article has given you an insight to the world of Macramé , as a complete beginner I think this blog post has some helpful pointers. If you have a go at some fibre art to create your own Macramé hanging let me know as I would love to see, tag @i_heart_maggie for Instagram or @IHeart_Maggie on twitter.
Love
Claire X

5 thoughts on “Macramé Wall Hanging for Complete Beginners”