

Over lockdown I got really into doing my own nails, I invested in a LED gel light and set about painting my nails a number of different colours. One thing I wasn’t very good at however was nail art, especially on my right hand, it just never turned out as good as the left hand.
I was looking for a simply way to add some flare to my nails that didn’t undo all my careful painting. Step in my trusted Cricut Maker. I came up with these colour decals to add a unique touch to my nails without the faff. These can be made in under 5 minutes and even better you can make them in advance ready for when they are needed.
What You Will Need
- Adhesive Vinyl
- Cricut Maker
- Tweezers
How to Make
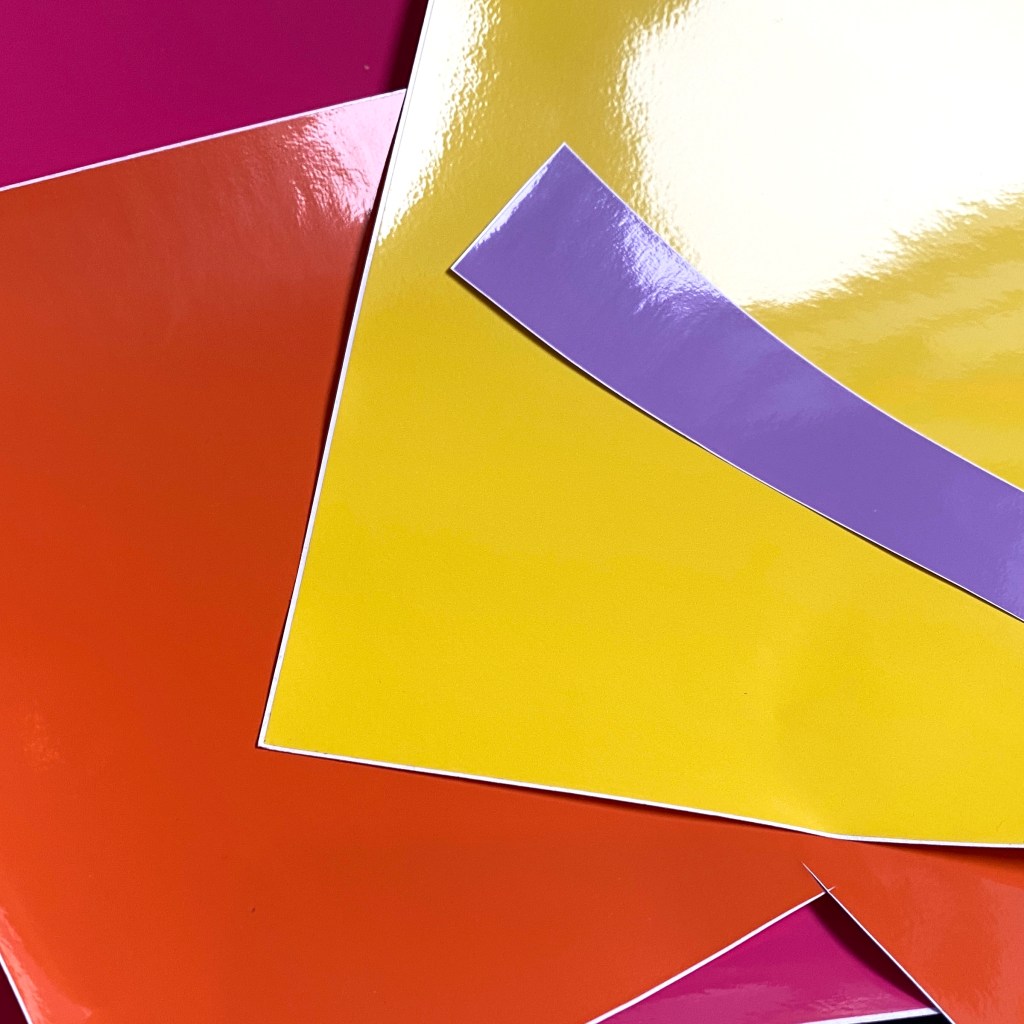
This project is great for using up your vinyl scraps, the designs are really small so you don’t need a huge amount of product to get a great effect. I chose pink, lilac, yellow and orange as I wanted it to look pretty but also nice and bright, something a little different from the traditional Valentine’s Day colours.

I created the word love with the letters ascending so they would fit on my nail better. I chose my font DTC Brown Sugar and typed the letter L, then duplicated this 3 more times and changed the letters so it said Love. I spaced them diagonally and when happy with the layout I attached them together as one.
I measured my nail to see what size would fit best then scaled the design to fit before duplicating the word 3 more times so I can mix and match the colours once cut.
I chose a heart shape and resized this to fit my nails, I then duplicated it so I had 9 hearts. I attached these hearts together and then duplicated this set another 3 times. This will be more hearts than I need but they can be saved for later.
I set my design to cut, I moved the word Love and a set of hearts to each corner of the cutting mat where I had fixed my four vinyl colours. This allowed me to cut them all at once.
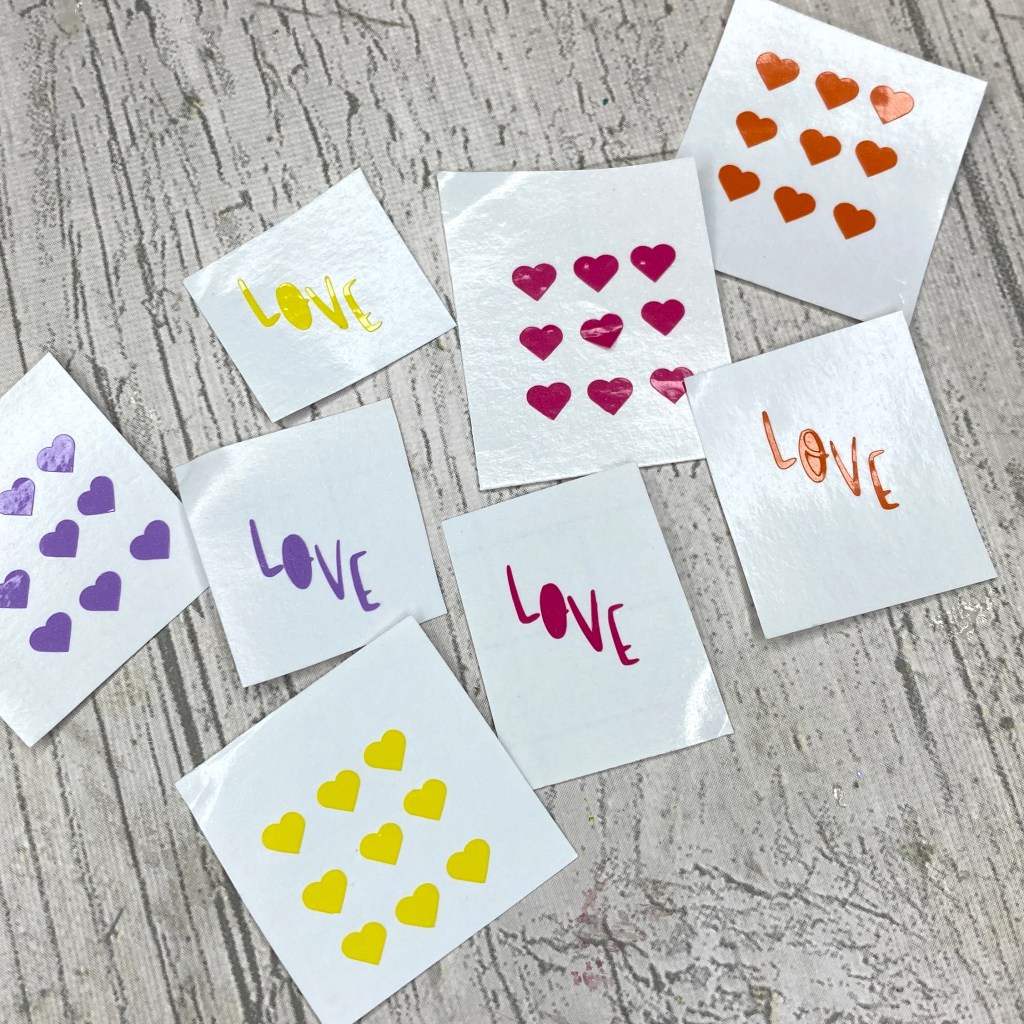
I weeded my design and then using tweezers I picked up the letters of my choice, popping them on my nails. I added the hearts on the other nails to finish the design. I advise adding a layer of clear varnish on top of your decals to protect them from wear & tear.

TIP: Wipe your nails with rubbing alcohol first to remove the natural oils and help the vinyls stick.

You can also save the vinyl you weed from your decals and use these as stencils, pop them on your nails, cover with a layer of varnish and then carefully peel off to reveal the design.
Thank you for taking the time to read my 5 minute Valentine’s Day Nail Decal tutorial, you can follow me @i_heart_maggie on Instagram or Bloomingunique on Tik Tok, you can also subscribe to my YouTube channel so you can see what I have been making, and don’t forget to check out my other blog posts.
Love
Claire X
