

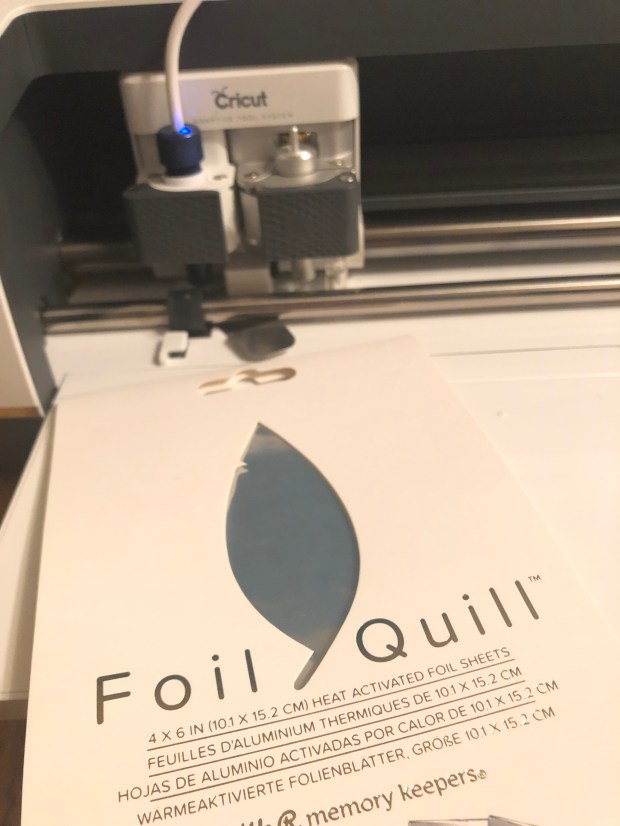
I’m always on the look out for new craft products, but recently I don’t think there has been anything ground breaking launched into the craft market. Well, that is all about to change with the launch of the Foil Quill by We R Memory Keepers.
The Foil Quill is a heat tool as small as a pen, that can fit into most electronic cutting machines like Cricut, Silhouette and Brother, using special adapter pieces. Voila, just like that your electronic paper cutting machine is turned into a foil machine.

I have tried many different ways to foil onto projects over the years but this has to be the easiest way by far. I know electronic cutting machines aren’t cheap but they can cut, draw, score and now foil. So if you are a regular crafter, they really are an investment that pays for itself over time.
How to use the Foil Quill
Take your Foil Quill pen, it comes in 3 sizes thin 0.5mm, standard 1.5mm and bold 2.5mm. Place in the pen holder using the special adapters. Plug into your power source and heat for at a minimum of 5 minutes.

Choose your image, Cricut have 100’s of drawing images and We R Memory also have USB’s full of line art by American Crafts most popular designers. Choose your image, you might have to play with the images a bit and group, weld or attach the images together to make them draw in your personalised designs. You will see if they have grouped right when you try and print.

Cover your chosen material with your selected foil, tape it down and pop on your mat. Don’t let the foil touch the mat or it will stick and take off the foil! Set up your cutting machine as if you were going to draw the design, then set your machine to go.

Once the Foil Quill has finished, carefully peel your material from the mat, you don’t want to rush it as it can crease the material and ruin the foil effect.
Tips & Tricks
Below are a few things I have learnt and some tips and tricks I found while using the Foil Quill. Please note, I used the Foil Quill on the Cricut Maker.
You need to screw the pen into the adapter and then pop it in the holder, I just popped mine in like a pen and it wasn’t until my machine had finished drawing, I realised it wasn’t in properly and hadn’t drawn anything.
Washi tape works just as well as the placement tape, just take some of the tack out of it by rubbing it on your trouser leg before you use it so it doesn’t ruin your material choice.
Some materials might take a bit of practise. Not every material will foil perfectly on the first attempt. If the foil hasn’t worked as well, try different settings, it’s a shame you can’t adjust the pressure on the pen tool.
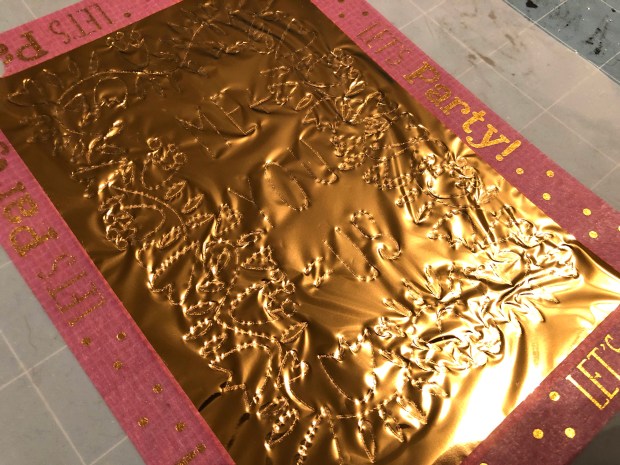
I found it easier to get the foil flat by adding the tape to the top and sticking to your material, then gently blowing the foil from above, this flattens the foil and makes it easier to tape at the bottom and sides.
The images from the Foil Quill USB’s come up automatically as cuts, so you need to change them to draw in order to get them to cut.
You can have multiple foil colours on prints, but you will need to create different layers for each different colour and put the design through the machine multiple times changing the foil each time.

You can plug your Foil Quill into the Cricut maker machine, We R Memory Keepers recommend a power bank to run the tool and this does work fine, however you can just plug it into the USB port on the side of your Cricut. Cricut have said this could affect your warranty if anything went wrong, but I imagine like mine, it is already out of warranty and the Foil Quills have been tested vigorously by We R Memory Keepers.
Following on from the point above, if you use the USB port, don’t assume your Foil Quill is turned off, if you turn your Cricut off by the power button on the machine, power is still running to the machine, you can see the Foil Quill light is still on, so make sure you pull out the USB or turn off at the wall when not in use.
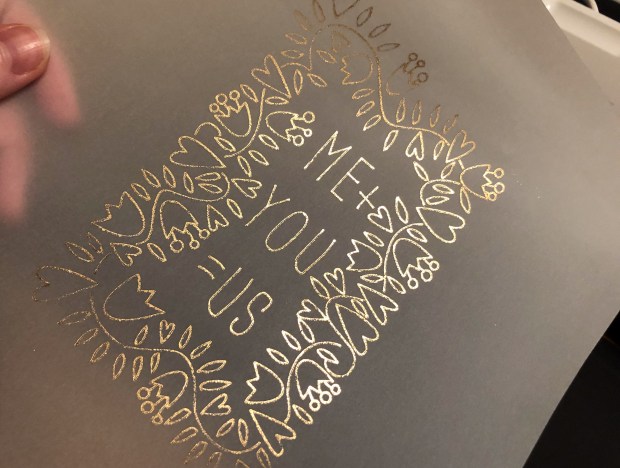
In my honest opinion, I love this tool, it makes it so easy to start foiling projects without multiple fiddly processes or more tools than the Foil Quill, your cutting machine, foil and card. Most materials I have tried foil really well (the silver on gold faux leather didn’t show up well) and I am looking forward to adding foil to my projects using this tool!
I will update this blog post if I find any more hints and tips the Foil Quill, if you have any questions, just pop them in the comments.
Love
Claire x

Thank you for sharing this. Have you tried different makes of foil?
LikeLike
I haven’t yet but did read on the AC website that you can use other brands x
LikeLike