
Ever since Trimcraft launched the Simply Creative glitter felt I have been planning lots of fun, sparkly crafts. First up is this no sew rainbow keyring, so easy to make you only need 10 minutes.

What you will Need
Simply Creative Glitter Felt
Scissors
Hot Glue Gun
Keyring Circle
How to Make
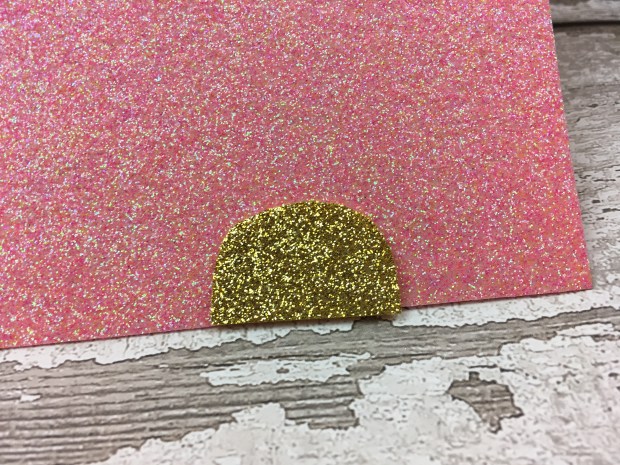
Take your first sheet of glitter felt and cut an arch roughly 3 cms wide. It doesn’t have to be perfect, handmade projects shouldn’t look mass produced.

Place the first layer on top of the next colour, following the original shape, cut around leaving a 4mm border. Repeat this step until you have all five layers cut.
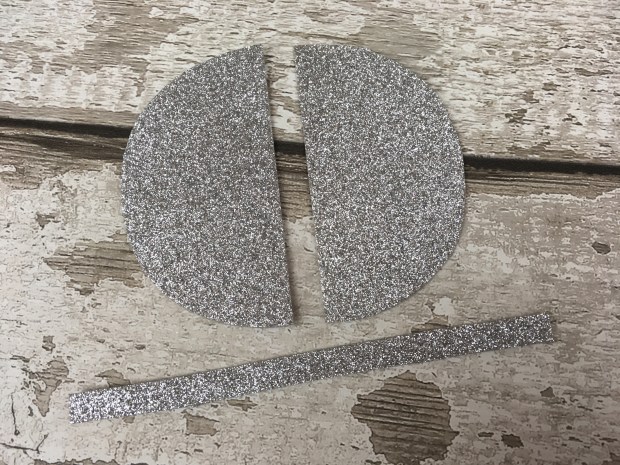
Use the last layer to cut a duplicate shape, this will be used for the back of your keyring. Also in the same colour, cut a strip of glitter felt roughly 14cm x 8mm.
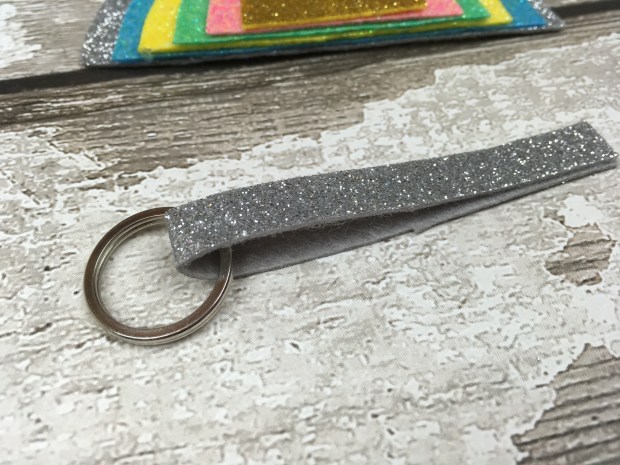
Thread the keychain circle onto the strip, fold in half and use the hot glue gun to stick the ends together.

Starting with your first piece of felt, use the hot glue gun to stick all your layers down. Glue the strip of felt to the back of the last layer, then glue down the back piece.

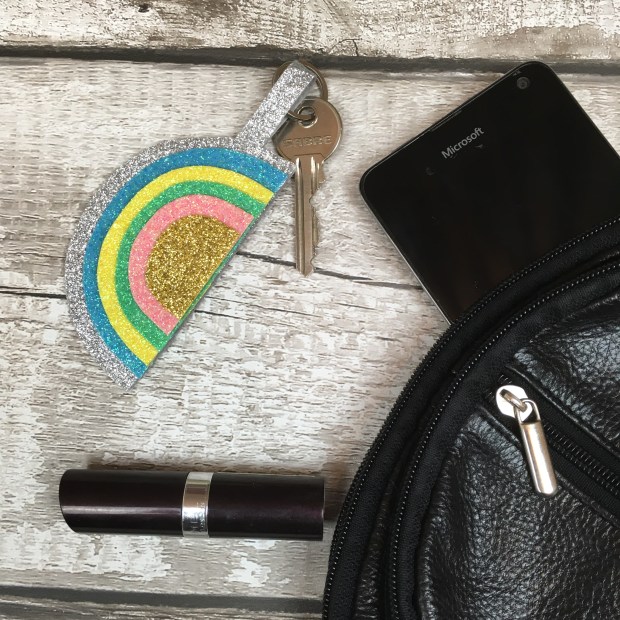
And there you have a jazzy DIY keyring, I have seen similar ones from stores like Oliver Bonas cost £15 to £20, this ones costs just a few pounds to make and like I said it takes roughly ten minutes to make.
If you make this craft, let me know, I always like to see your crafty makes, tag @i_heart_maggie for Instagram or @IHeart_Maggie on twitter.
Love
Claire X

What a fantastic project, brilliant, thanks for sharing with us at All Things Crafty … Facebook group xx
LikeLiked by 1 person
Thanks Emma! Xx
LikeLike