
If you haven’t seen the trend for paint pouring, then where have you been? I am mesmerised by all the social media videos of fluid art canvases. After a few attempts though, I was looking for other DIY options other than a canvas!

Paint pouring basically entails pouring acrylic paint into a plastic cup and then flipping it onto a canvas and tipping it all out, then watching as it oozes across the canvas and the colours mix.
What you Need
Liquitex Pouring Medium
A mixture of acrylic paint
Plastic cups
Lolly-pop sticks
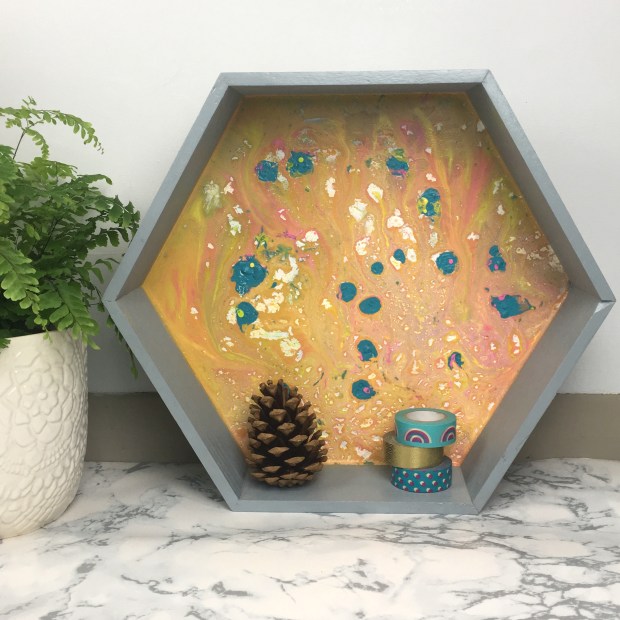
Wooden Shelf – Mine was from Flying Tiger
How to Make
First make sure your work surface us properly protected, if you can do this inside a large box or container that will help catch any loose paint.

Take your plastic cups, use one cup per colour then pour about one cm of Liquitex pouring medium into each cup. The pouring medium will loosen the acrylic paint and allow the paint to flow easier.
I made a little more white paint up than the other colours as this was my base colour.

Squeeze your paint colour into your plastic cup and mix with the lolly-pop sticks until you have the colour you want, repeat with the other colours you are using. Once you have mastered this craft you can have so much fun creating different patterns and colours.
Take a clean plastic cup and start pouring your white paint into the cup. Then from a height, start dropping the other colours into the cup, this will ensure the paint hits the bottom of the cup. Save a little bit of paint from each cup for later.

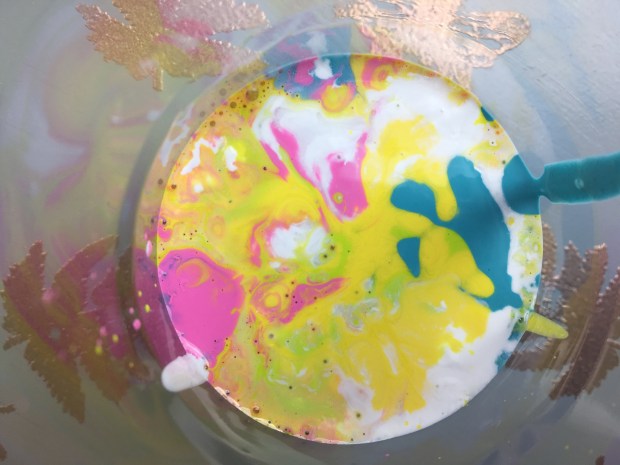
I had an old shelf from a previous craft blog trial that was perfect for this DIY! Pick up the cup and place the shelf over the top, quickly flip the two, keeping the cup as tight to the shelf as you can.

When you are ready lift up the cup and let the paint flow, the colours will start to mingle and make some gorgeous colour combinations. Gently tilt the shelf until the paint touches all the sides.

Take your leftover paint and drop it from a height into the wet paint to create some interesting effects. Once you are happy with your design leave the paint to dry, this could take a few days due to the amount of paint used.
If you try your hand at paint pouring, don’t forget to show me, I always like to see your artistic projects, tag @i_heart_maggie for Instagram or @IHeart_Maggie on twitter.
Love
Claire X

This is fabulous, looks brilliant. Thanks for sharing in All Things Crafty… Facebook group xx
LikeLike
Interesting technique and great backgrounđ.
GG
LikeLike